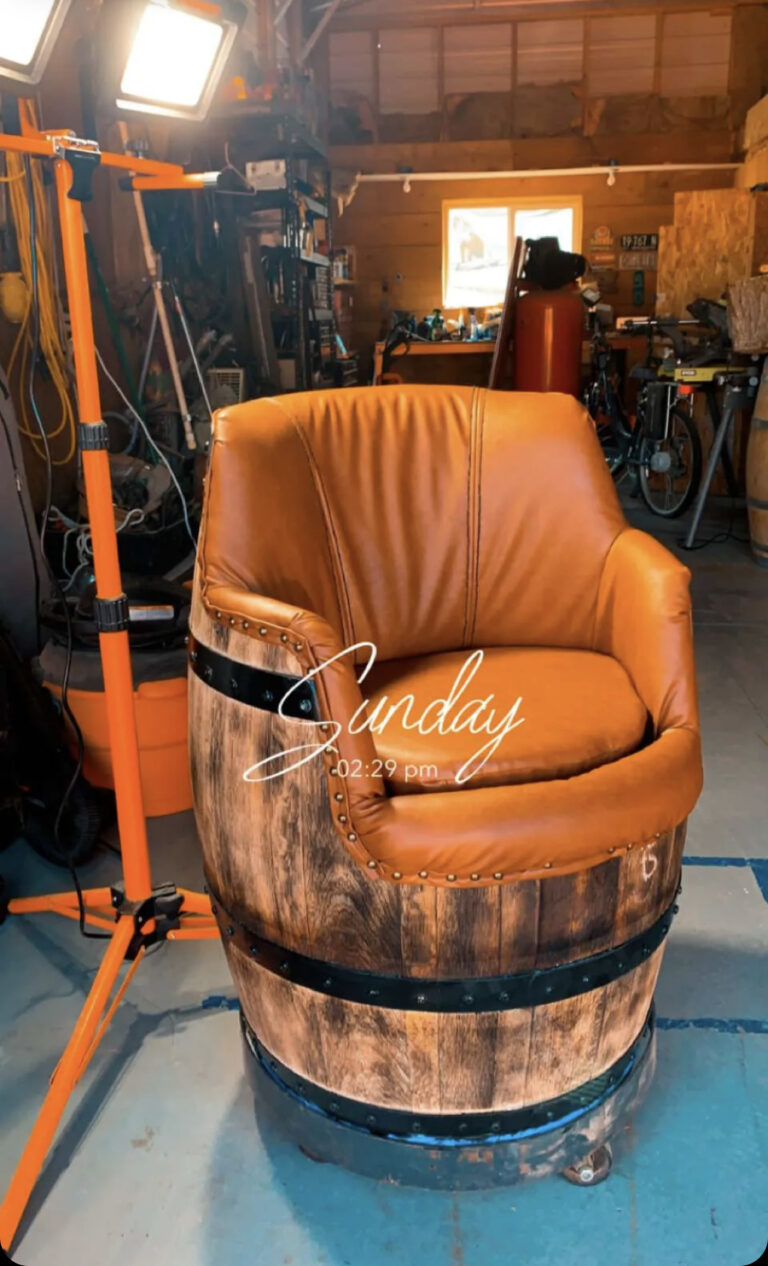
Have you ever wanted something so beautiful so bad but then you saw the price tag and then thought…ahhh I better attempt this at home. So I did! I came across these incredible wine barrel chairs with nice leather upholstery cushion and a very painful $2K price tag. I knew sitting on one of those bad boys would be the most comfortable and uncomfortable thing I’d ever sit on simply because my wallet wouldn’t let me forget it. Did I mention we get to torch stuff in this project. Now I know you’re excited! Let’s begin!
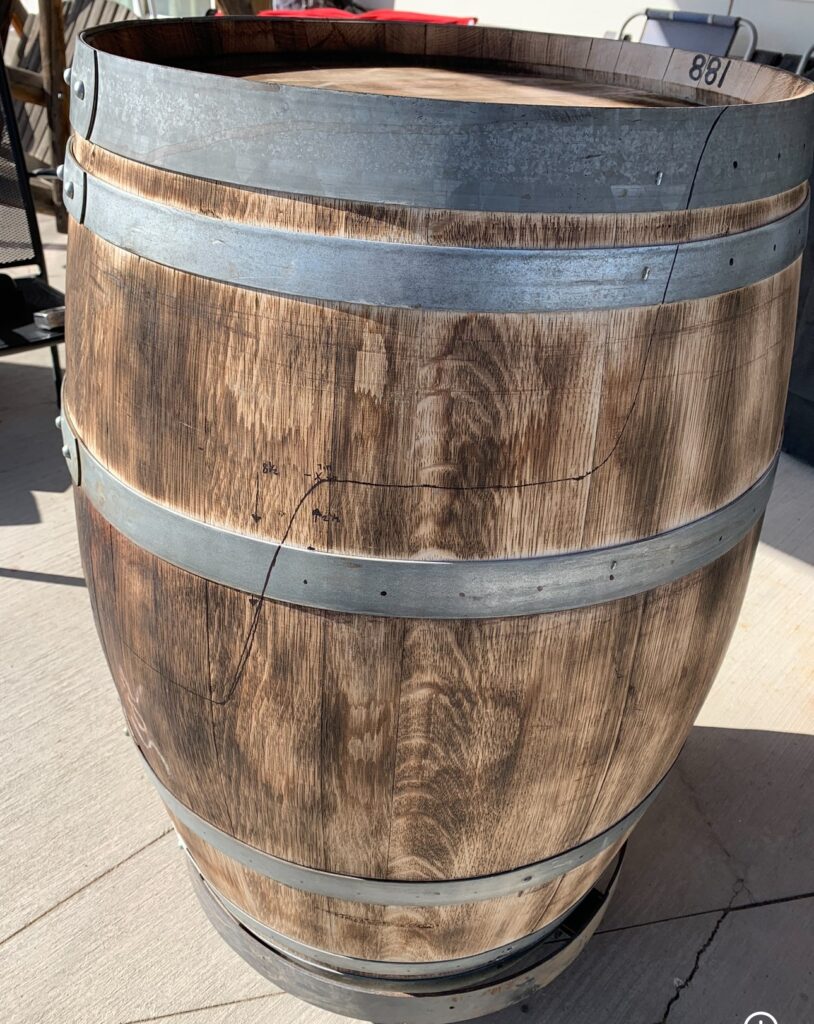
You can get a brand-new wine barrel at about any local hardware store. I think even Lowe’s and Home Depot sell them but we’re talking $80 to $100 per barrel. I did some digging on Craigslist and found some for $50 each so I bought 6 of course. I’m sure if you look even harder you might find some for less or even free! I’m oddly proud of myself for this idea… a jet ski dolly! Yup your heard. What could hold the barrel at perfect height, and it stay in place, but you’d still be able to move, twist it around however you needed… Jet Ski dolly. $106 but don’t go for broke if you don’t have to, just use small chunks of 2x4s if you need to anything to make it stay in place while you work.
Sanding. Sanding is either yuck or very meditating-like depending on my mood and patience, am I right? You don’t have to go crazy because remember, torching!
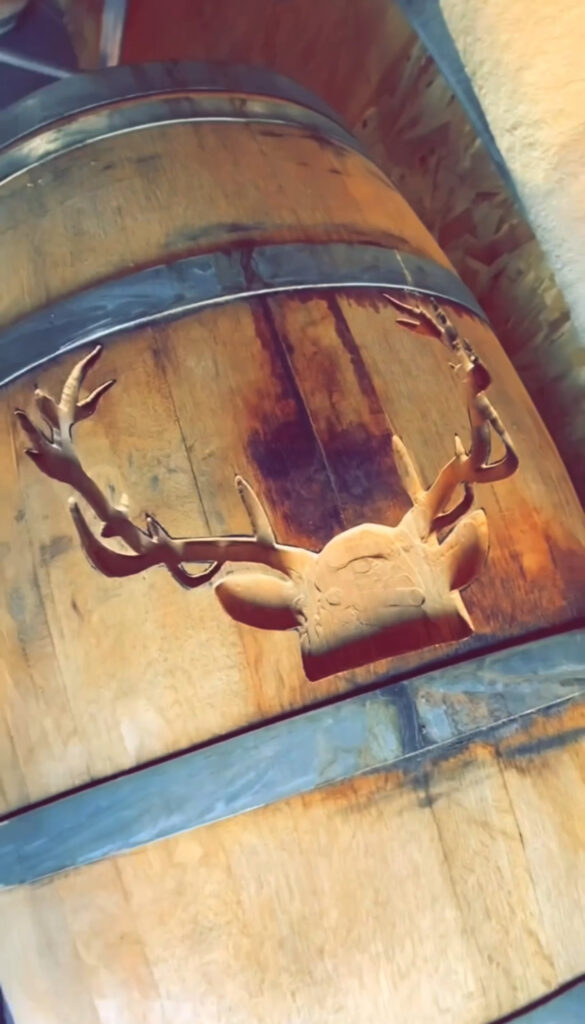
I hand drew a deer on a piece of cardboard (you can print one out if you must). Cut out and center it on the barrel and trace it.
I know it’s silly but my router is my favorite power tool. Time to router out the deer you will need to use 2 different size bits. The antlers will be tough as it is, so use a smaller bit, I used () for the antlers and () for the bulk of it. I went about 1 inch depth. I did accidentally chip some spots or went out of line but I just evened it out so it looked normal.
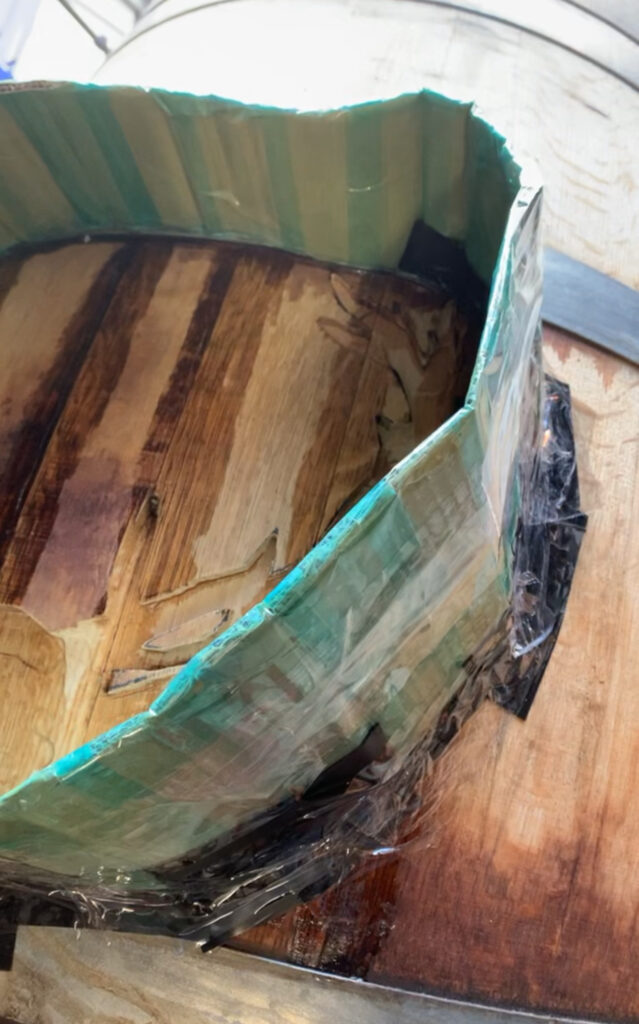
Oh epoxy! You’re probably thinking, there’s no way to pour epoxy in a curve, it’s gonna spill out…. I built a cardboard wall around it. Now you’re probably thinking, that’s not gonna keep liquid in until it cures…. I tape the ever-living carboard out of it! Yup! 1 gallon of Table top, 2 part epoxy resin $35 on amazon. You will only need about half but it’s cheaper to buy it this way. I choose to do 2 different colors in the epoxy brown and green. The brown didn’t come out to much because the green in the center flooded a lot of it out but I still love the way it turned out. Color pigment $10 and resin tape $7. I had my husband help me with this part. If you do one color you should be fine to pour on your own.
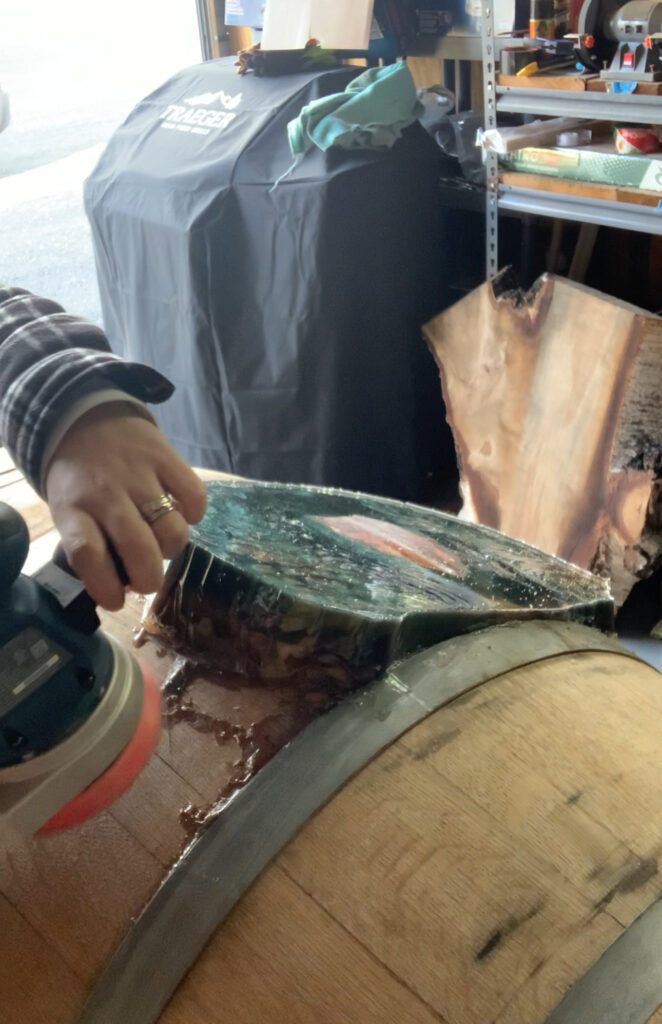
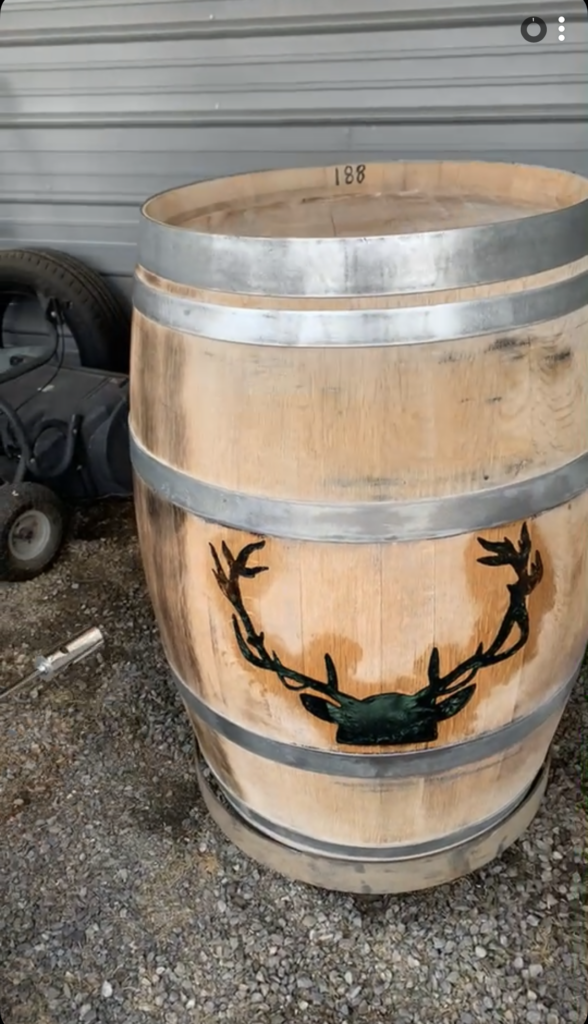
24 hours later… yes I know a lot of wasted epoxy, if anyone has an idea on how to pour epoxy in a curve without wasting this much please, I wanna know! Time to cut, chip, saw and sand away. Ugh this part I hate to admit took way longer than I was hoping. I used the electric saw to cut the chunk of it away but I had to be careful not to dig into the deer. So I sand and sand until I saw the deer shine through. Loved this part where what I had envisioned was actually coming out exactly as planned.

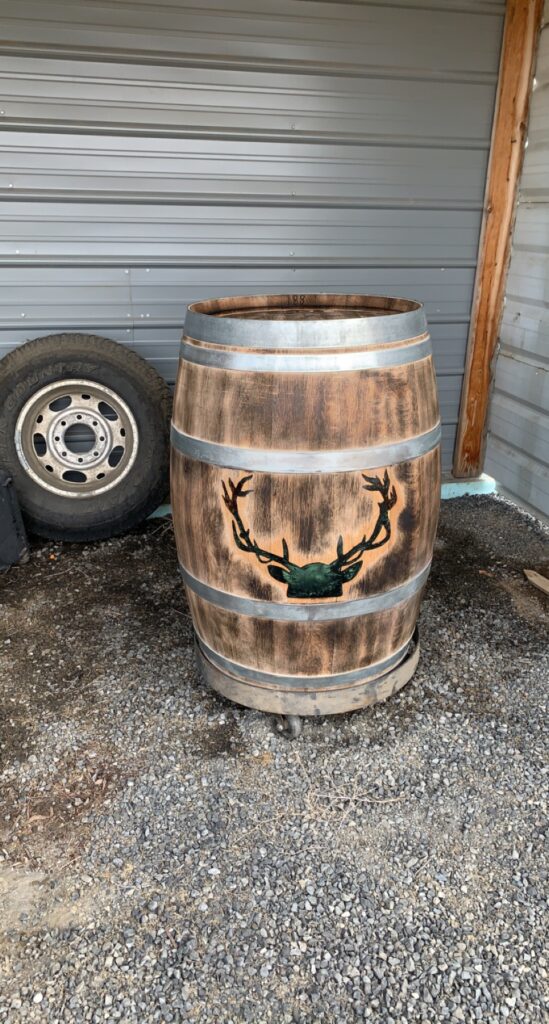
FIRE!!! you guessed it I bought a torch! I will say that I should have gotten a small kitchen torch gun for $20 bucks but I didn’t I got a heavy duty weed burner one that hooks up to a big tank. Oh well! $45 on amazon.
So of course, if you don’t have the tools for a project like this already this can start to get really costly, I didn’t have every tool to do everything. I asked to borrow a metal grinder for the next step, which is starting to shape the barrel into a chair… you need a metal grinder to cut through the rings around the barrel and a saw to cut the wood (which is pretty thick maybe about 1 1/2 in) so I used sawzall… and next up was messy foam shavings and my first time dipping my toes into upholstery, stay tuned for the finished product!
Time to cut…